The icons of a website are always a particular point of attention. Besides the choice of the icon library to be used, it is mostly a question of implementation. For some years now, the SVG (Scalable Vector Graphics) format has had a monopoly on good looking icons.
SVG is a vectorial image format, which allows to extend an image (its vectors) to infinity, without loss of quality. This is not possible with raster images (bitmap, jpg, png,...) which are a combination of digital points, called pixels. However, we recently came across a problem with the fill-rule property of SVGs.
At WebstanZ, we made the choice many years ago to make our icons an SVG-based font. There were other methods available to us, such as bitmap images or inline SVGs. Although inline SVGs have their advantages, we preferred the font method to benefit from the usual css attributes of fonts, such as font-size.

Furthermore, this offers an advantage over bitmaps in terms of the colour of the icon/text. Since the SVG path we use to create a font is an "empty" vector shape (made up of several individual geometric objects), a simple css color attribute allows us to change the colour of the icon/text depending on its context.
This allows us to avoid making several versions of the same image in different colours, or having to focus on the different plots of an inline SVG. The same applies to hover effects: if your icon needs to turn red on hover, just add the pseudo-class :hover and change the color: red; attribute. No sprite image file (a multitude of images combined into one), no image files multiplied by the number of colours required... just a simple text.
To compile our scss into css (which your web browser can interpret, unlike scss), we used Gulp until recently. We recently switched to Webpack for more modernity and openness to the future. We translated Gulp content into Webpack: a task that allows to generate the text icon from an SVG.
The advantage of using an SVG is that it also allows the implementation of completely custom icons, which our designers could create for a specific project for example. This task also generates a scss file that automatically makes available a class (an attribute to differentiate the different parts of the code) composed like this: icon-namedemonicone.

This feature is very useful because all we have to do is assign this class to any HTML element and the text icon will appear (as a pseudo-element before the HTML tag). When it is not possible to modify the HTML, we use a mixin sass (a feature that allows us to define styles that can be reused everywhere in our style sheet). Adding @include make-icon, followed by @include icon-nameofmyicon in scss allows us to generate everything necessary to display the icon.
In terms of design, we adopted the Figma program (a collaborative design application). The icons (in flattened paths) were used and the front-end developer in charge of its implementation had to export it from Figma and use it in the theme of the site.
Except we ran into a problem: depending on the SVG used and how it was made at first, we found that the web browser did not handle empty spaces in an SVG icon well.
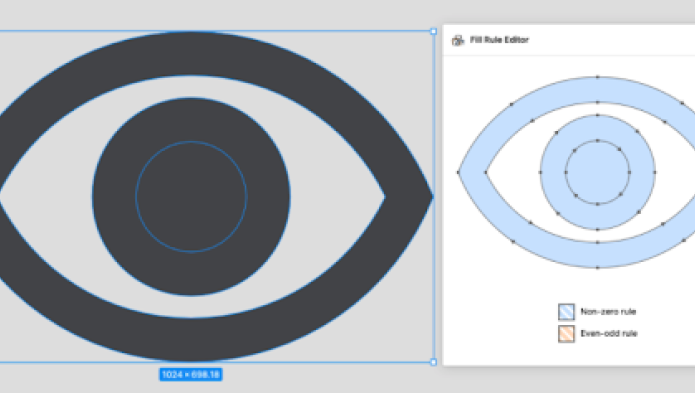
Basically, the even-odd rule for the fill-rule attribute is used with SVGs, but this is poorly supported by the web browser. When displayed on the web page, the empty spaces of the icon will be filled in a rather unpredictable way.
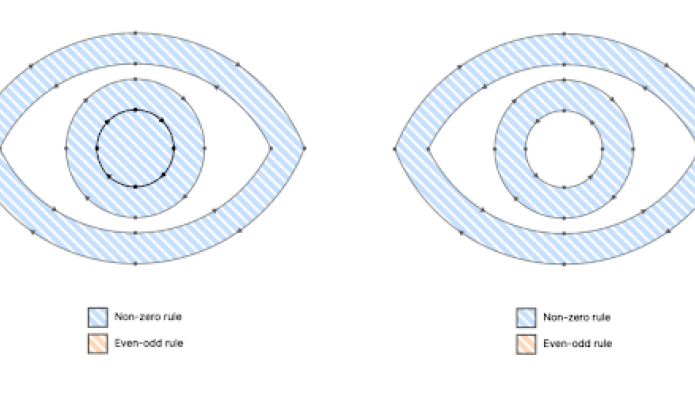
Some vector graphics will be displayed without problems, some will be cropped. After much research and thanks to the Figma Fill rule editor plugin, we can now decide that the value of the fill-rule attribute will be non-zero. This attribute determines how the empty spaces generated by the various pathfinder options (the pathfinder allows you to combine objects to make new shapes, with subtractions, divisions, etc.) are calculated via the anchor points.
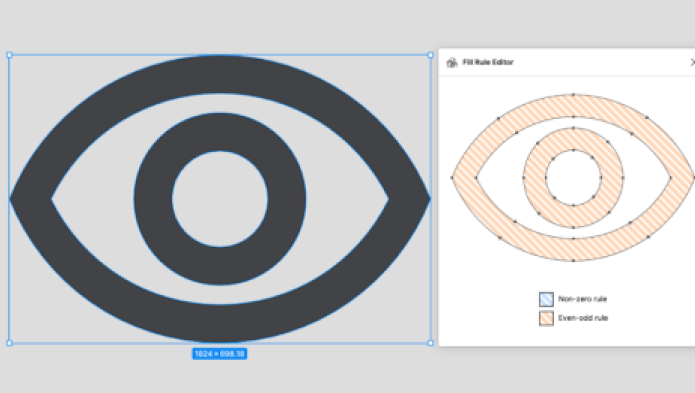
After a few manipulations, including flattening the vector path, the SVG is ready to be exported.
This fill-rule value should be combined with another Figma plugin: SVG Export. This one allows to optimize the weight of the SVG file (without using a third party compression tool), but the option we are interested in is Remove fill-rule.
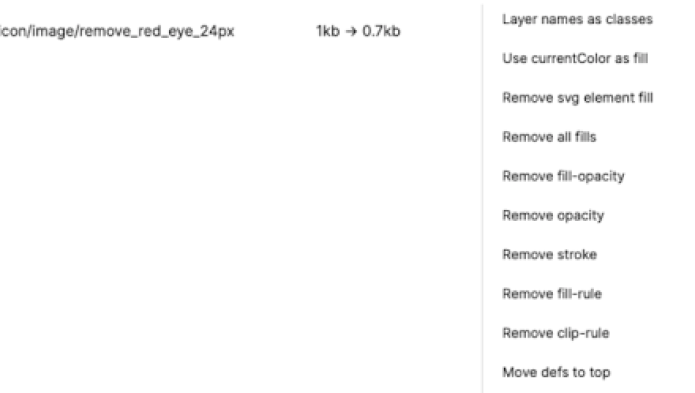
Combining these two plugins is the best solution we have found to overcome the shortcomings of the basic Figma export of SVGs that we use with our Webpack task.
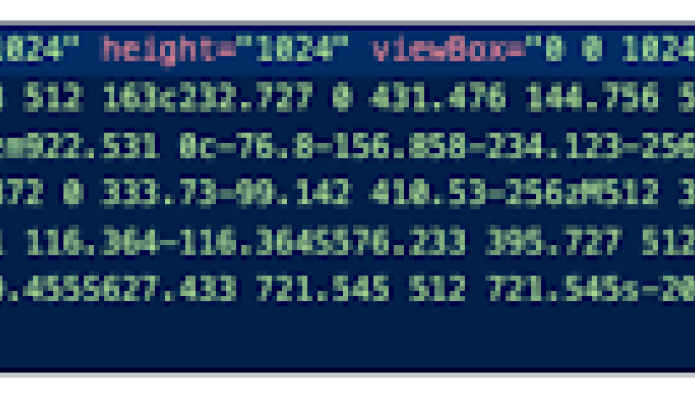
Here is the SVG exported with this process and passed through the iconfont task. You can see that the fill-rule attribute is missing, and that's all we wanted!
For the moment, we have to rely on the designers in the team to be able to use this solution. Indeed, not all of us have a Figma editing licence, as we are not all designers. With a simple "viewer" profile, the developers can work. But without an editing licence, there is no access to Figma plugins... The next challenge will be to find a solution so that the whole team can export the icons correctly.
Got a question about icons? Need to talk to a front-end developer?


