Are you a bit confused? You don't know what Drupal is, or what it is used for? Then we advise you to read this article or this one :)
In this article, we explain you how to install Drupal easily in 5 minutes either on a web server (1), or on your computer, on a local server (2)
1. Install Drupal on a web server
1.1 What you'll need
First of all, before installing Drupal, you will need a web server and a database server.
For Linux servers using Apache and MySQL, the software needed to run Drupal is known as the "AMP stack". What is it?
- Apache: Apache is currently the most used web server in the world, but another web server will do just fine, such as IIS, NGINX, GWS,...
- MySQL: Or MariaDB, PostgreSQL, SQLite,...
- PHP : Make sure that the PHP version matches the minimum version needed for the Drupal version you want to install. Currently, we are at version 9.4 of Drupal, and it requires php 7.4 minimum.
(Microsoft servers and databases are also referred to as a stack).
A hoster like OVH, Pantheon or Platform.sh can provide you with this package by default when ordering hosting. They will also provide you with a live environment (the live website) but also a test environment (the development website) if needed.

1.2. Drupal install
The second step is to install the code. At WebstanZ, we use Composer (a PHP dependency manager) and Drush (a shell-based software application for administering Drupal websites). This is the recommended method, combined with the use of Git.
Depending on the hosting company you choose, the installation method is different. They will probably provide you with the appropriate documentation for this. Nevertheless, the latest version of Drupal is always on the download page. You can therefore also download the installation file manually. Then, using the terminal and command lines, you can start the installation. On the production environment, do compose install --no-dev.
1.3. The Database
Next step: the database. Again, you have several options: create a database and a user through a control panel (again, see the documentation provided by your host, but these are generally simple steps to follow), use phpmyadmin or the MySQL command lines you have chosen.
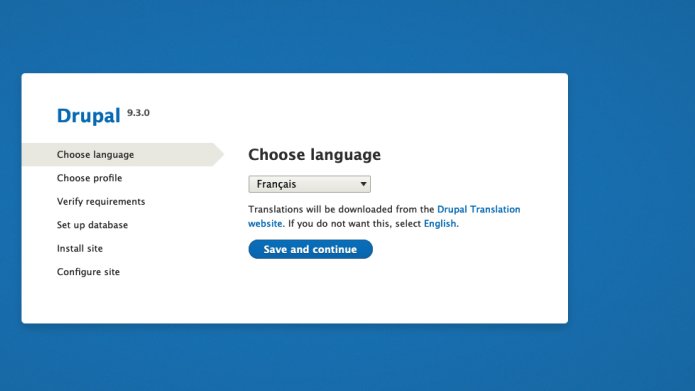
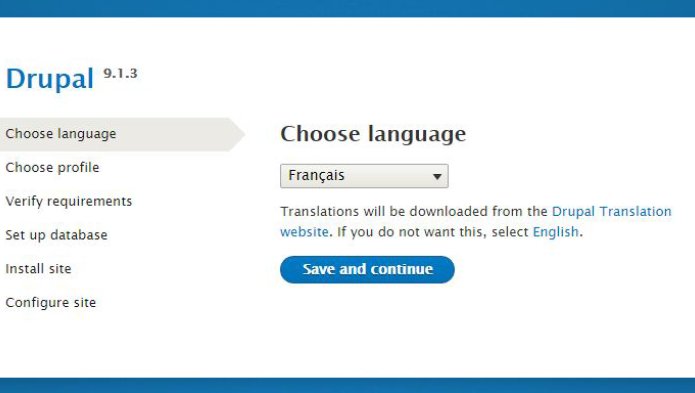
It is at this stage that we will finally be able to launch the installation. To start the installer, open a browser and visit the URL you have setup for your hosting. You should see this screen, where you will be given the choice of language.
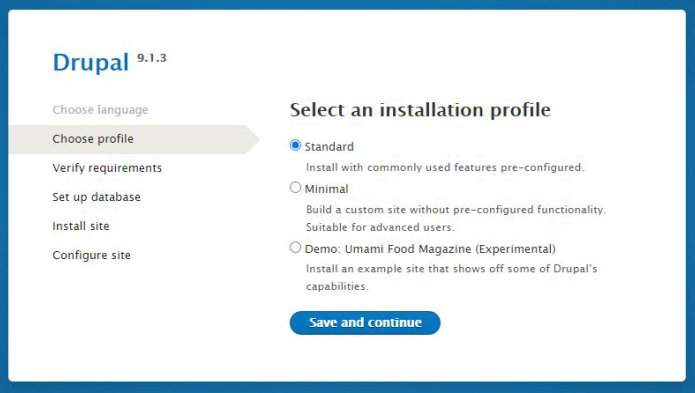
The next step is to choose the installation profile (usually the basic one).
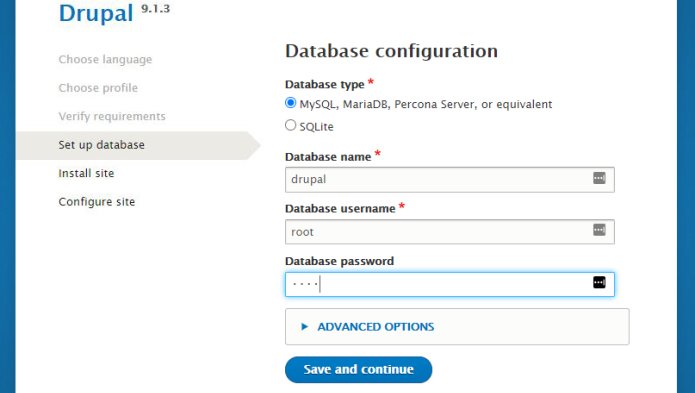
Then you will need to provide the information from your newly created database.
Finally, the last step! You will be asked for some basic information such as the name of your site.

And if all went well, you should arrive on a screen like this, with a message telling you that Drupal has been successfully installed.
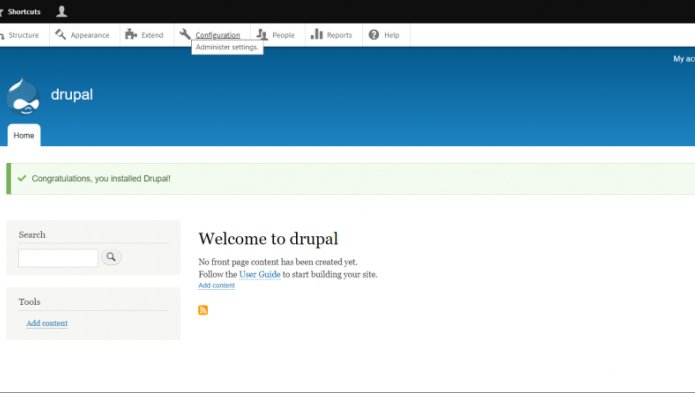
Congratulations, you're a brilliant Drupal implementer! Now that it's a breeze for you, let's get to know this powerful CMS.
2. Install Drupal locally via Wamp
2.1 Introduction
To install Drupal locally you will need three things first:
- A software that installs a server on your computer: Wamp (for Windows) / Mamp (for MacOs) / Lamp (for Linux), or Docker.
- The latest version of the Drupal CMS.
- Your favourite browser to open and configure the site as if it were online.
2.2 Install Drupal with Wamp/Mamp/Lamp
Follow this steps if you want to install Drupal with Wamp/Mamp/Lamp :
After downloading the software, follow the installation instructions of Wampserver (Choose the 32 or 64 bits version depending on your computer configuration). It will be delivered with the latest versions of Apache, MySQL and PHP.

Once downloaded, unzip the file and place it in the wamp/www folder.
Then launch Wampserver and choose 'Start services' in the menu if the icon is not green (if it is green it means that everything is working).
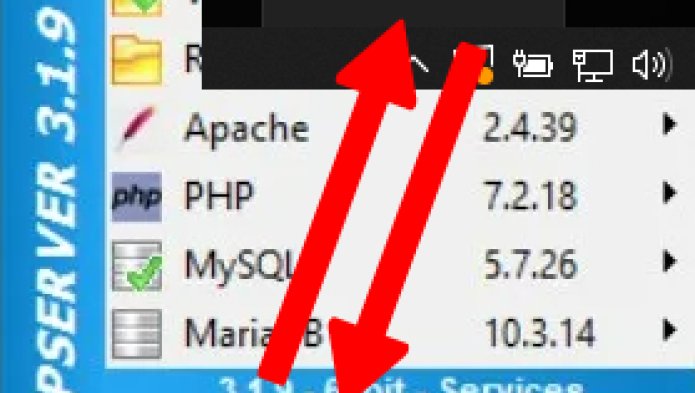
Then click on 'Localhost' in the Wamp menu or type http://localhost directly in your browser. You will then access an administration page where you will find tools, your projects, but also a link to phpmyadmin, which will allow you to create a database.
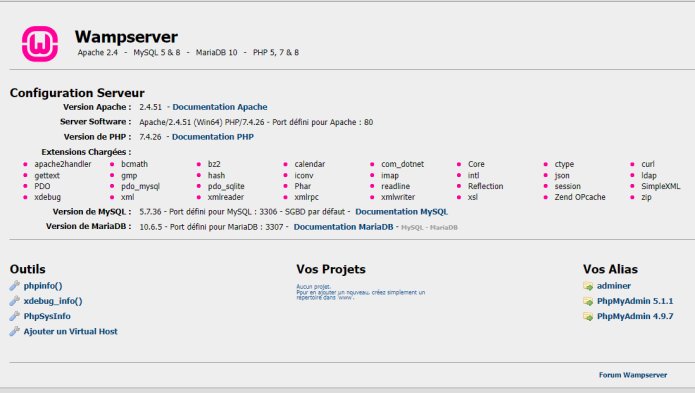
Log in to phpmyadmin (use 'root' as the username and leave the password field blank) and create a database. Then go back to localhost and click on the project you have just created. This will take you to the Drupal installation screen (follow the instructions from paragraph 1.3 at the beginning of the article)
2.3 Install Drupal with Docker
If you choose to install Drupal with Docker instead, here is the procedure:
At WebstanZ, developers use Docker to simulate the server installation of their site locally. Whether you are on Mac, Windows or Linux, Docker provides an installation file of the Docker Desktop application.
Docker works with containers. These provide everything you need. In addition, the application has a simple interface that allows you to manage your containers, applications and images directly from your machine.
Once the application is installed, go to Preferences and share the folder where you have stored your site to run locally, by clicking on the little plus at the bottom right:
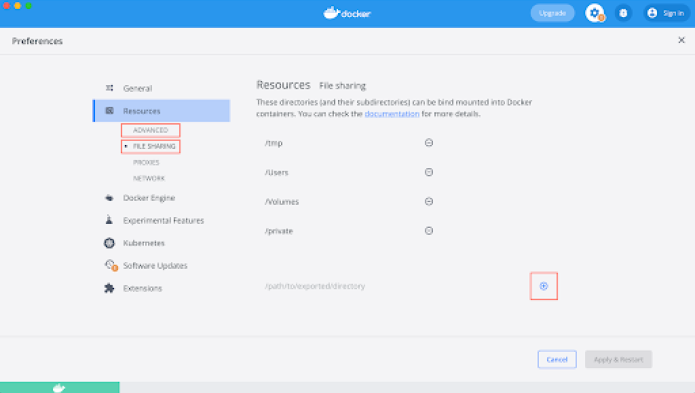
TIP : Don't hesitate to increase the memory allocated to docker, in the "Advanced" tab, so as not to be restricted by a space disk limitation.
You can find the 4 essential files for launching your docker container here.
You will need :
- .env (attention, the dot at the beginning of the file name is mandatory);
You only need to change the project name in the PROJECT_BASE_URL variable. The name must be unique to each project.
And also adjust the version of php that corresponds to the version of Drupal you need, by uncommenting the line that starts with PHP_TAG under the operating system you are using (uncomment the line PHP_TAG=7.4-dev-macos-4.19.1 if you are working on macOS for example); - docker-compose.yml : the configuration file;
- docker.mk : the file that lists all the commands;
- makefile : a set of commands used to create container images.
Copy these files and paste them into the root of your project. Then, according to the commands written in the docker.mk and your operating system, execute the following command:
Linux : make up or docker-compose up -d
Mac : make up or docker-compose up -d
Windows : docker exec -ti nom_du_projet_php sh
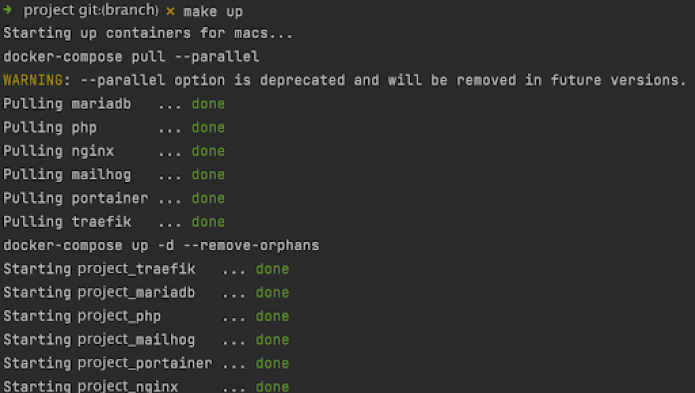
You are now ready to install Drupal locally with Docker by visiting the url given in the PROJECT_BASE_URL variable (project.docker.localhost:8000 for example).
Following WebstanZ standards, now execute the following commands:
- composer install (installs the dependencies)
- drush sqlc < nomdeladb.sql (import the db into the container)
- drush updb (updates the database)
- drush cim (importers the configuration)
- drush cr (empty the cache)
Drupal is now installed!
Need help to install Drupal ?


